Create a gallery with Oof components
This tutorial will help you to create an image gallery in Silex with Oof components.
You will find in this post the different steps to get there. You will also find the .zip of the images that were used for this tutorial so that you can reproduce it on your Silex server.
Good work !
Pre-requisites
- To do this tutorial you need
-
- full-sized images
- the corresponding thumbnails
- For the sake of this tutorial we have choosed 4 images
- image1.jpg ; image2.jpg ; image3.jpg and image4.jpg
Let’s go !
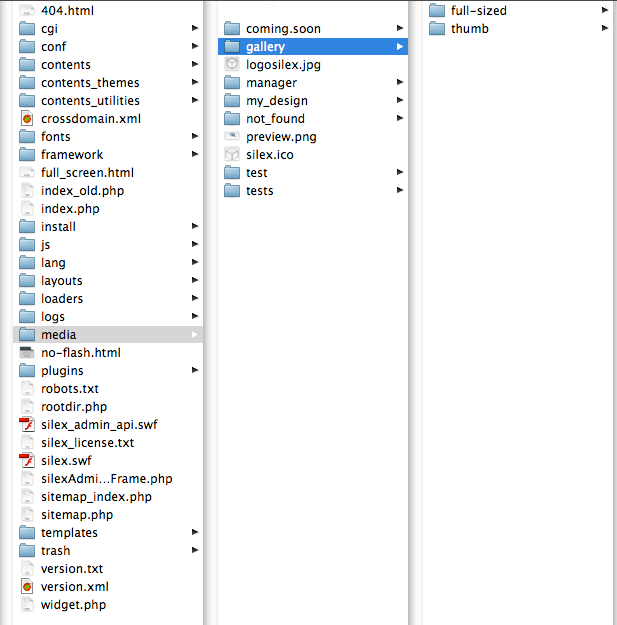
- create a “gallery” directory in the “media” folder of your Silex server
- in this “gallery” directory create a “full-sized” directory and a “thumb” directory
- put your full-sized images in the “full-sized” directory and your thumb images in the “thumb directory”
- _**Note
- your full-sized and thumb images must absolutely have the same name and the same extension ! Your images can be in .jpg, .png or .swf format**_
Step 1
: Display the gallery thumbnail
-
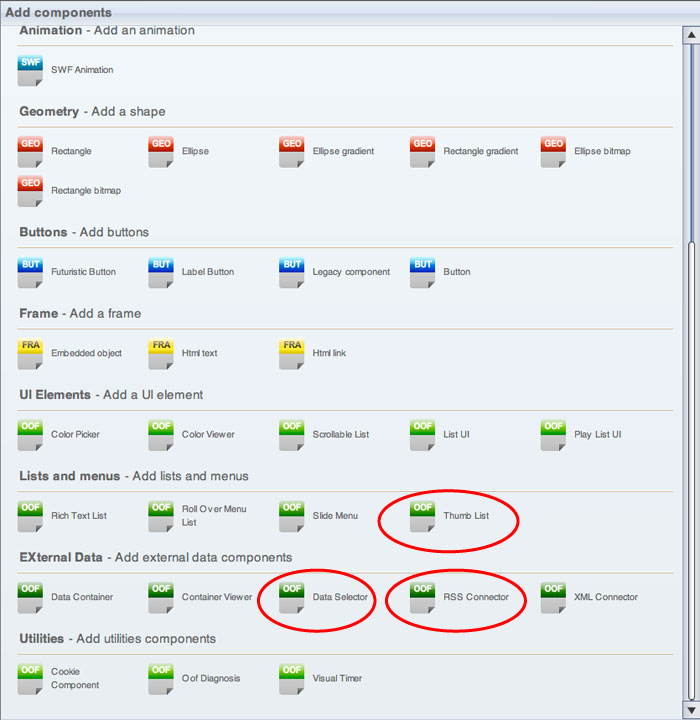
- Put 3 components on the stage from your library
- DataSelector (“Selecteur de données” in french)
- ThumbList skin1 (“Liste de Miniatures” in french)
- RssConnector (“Connecteur RSS” in french)
- Configure your components
- RssConnector :
- There is two fields to configure
- url base (“URL du fichier” in french) and name (“nom” in french).
For the url base edit this = «silex.rootUrl»cgi/scripts/rss_browse_folder.php?folder_path=media/gallery/thumb and for the name just put “connector”

- ThumbList :
For this component you only have to configure its name and named it “thumbList” and that’s all or almost !

In fact, depending on the result that you want, you can change the visual parameters of your thumlist as the row height or the items per row, etc…

Note that for a better display of your thumbnails, it’s better to uncheck the “resize image” box (“redimensionner images” in french) 
- DataSelector :
- 4 fields to configure
- the “connector name”, the “list name”, the “icon field” and the “name”


- Note
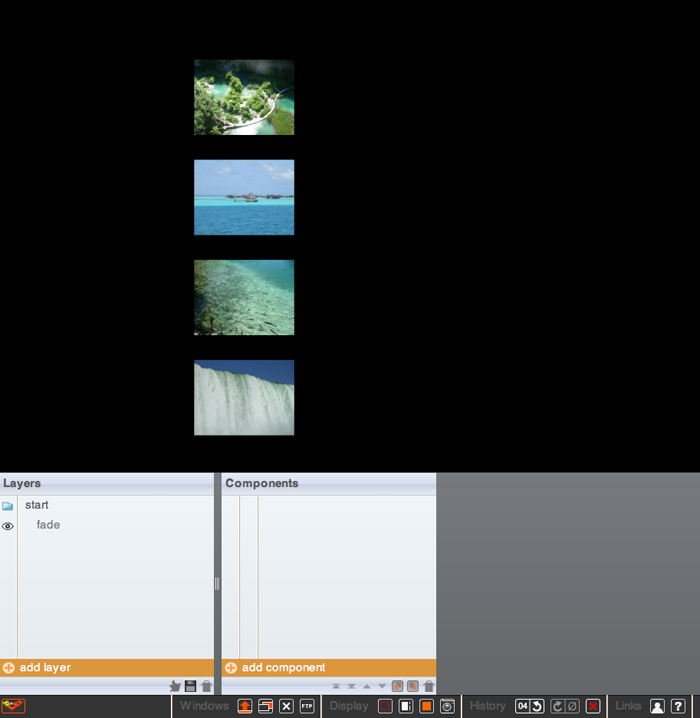
- save the page, refresh and the thumbnails must appear…
Important ! to see your thumbnails correctly, you must configure accordingly the height and width of your thumblist component and the row height (“hauteur de cellule” in french). Note that you can display several images per line, for that you only have to put the wanted number in the “item per row” box (“éléments par ligne” in french)
Here is the result on our example :
Step 2
: Display the full-sized images when click on thumbnails
- Add the Image Display component.

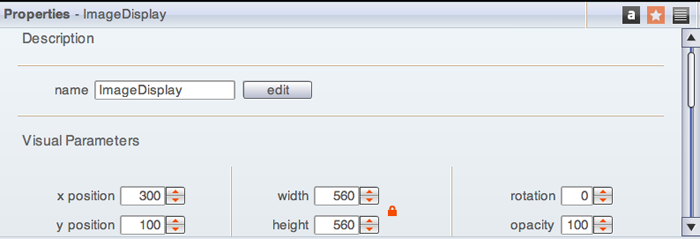
- Configure your Image Display component
The only thing to change is the width and the height of your image display. Generally it is better to make them match with the width and the height of your full-sized images.
-
Fill the “commands to execute on click” in the selector component
- Select your selector
- choose “commands to execute on click”
- click on “edit”
- click on the “+”
- enter the following command = ImageDisplay.value=media/gallery/full-sized/«title»
- click on “ok”
- save and refresh your page
 Your gallery is done !
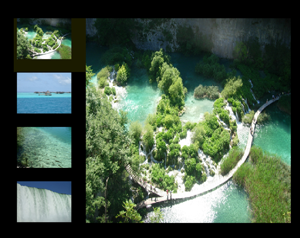
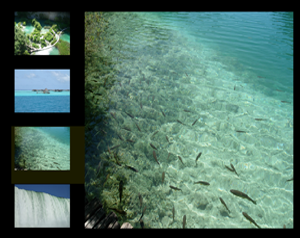
Here is the result on our example :


Step 3 (optional)
: Load a first image automatically
- For this
-
- select your selector
- open the “action” toolbox
- enter the following action
- onResult selectedIndex=0
- confirm
- save and refresh

The first image of your gallery appears automatically without to have to click on its thumbnail !
- This tutorial is finished, but you can look at the other tutorials linked to this one


